Add your first supply
Once the app is installed and your first location is set up, scan the first item — or enter it manually with the Add Supply dialog.
-
Tap the Scan tab at the bottom of the screen and point the camera at a GS1-128 barcode, DataMatrix, or UPC label. The app captures it automatically — no shutter button. The product card that appears lets you confirm the location, quantity, and save.
-
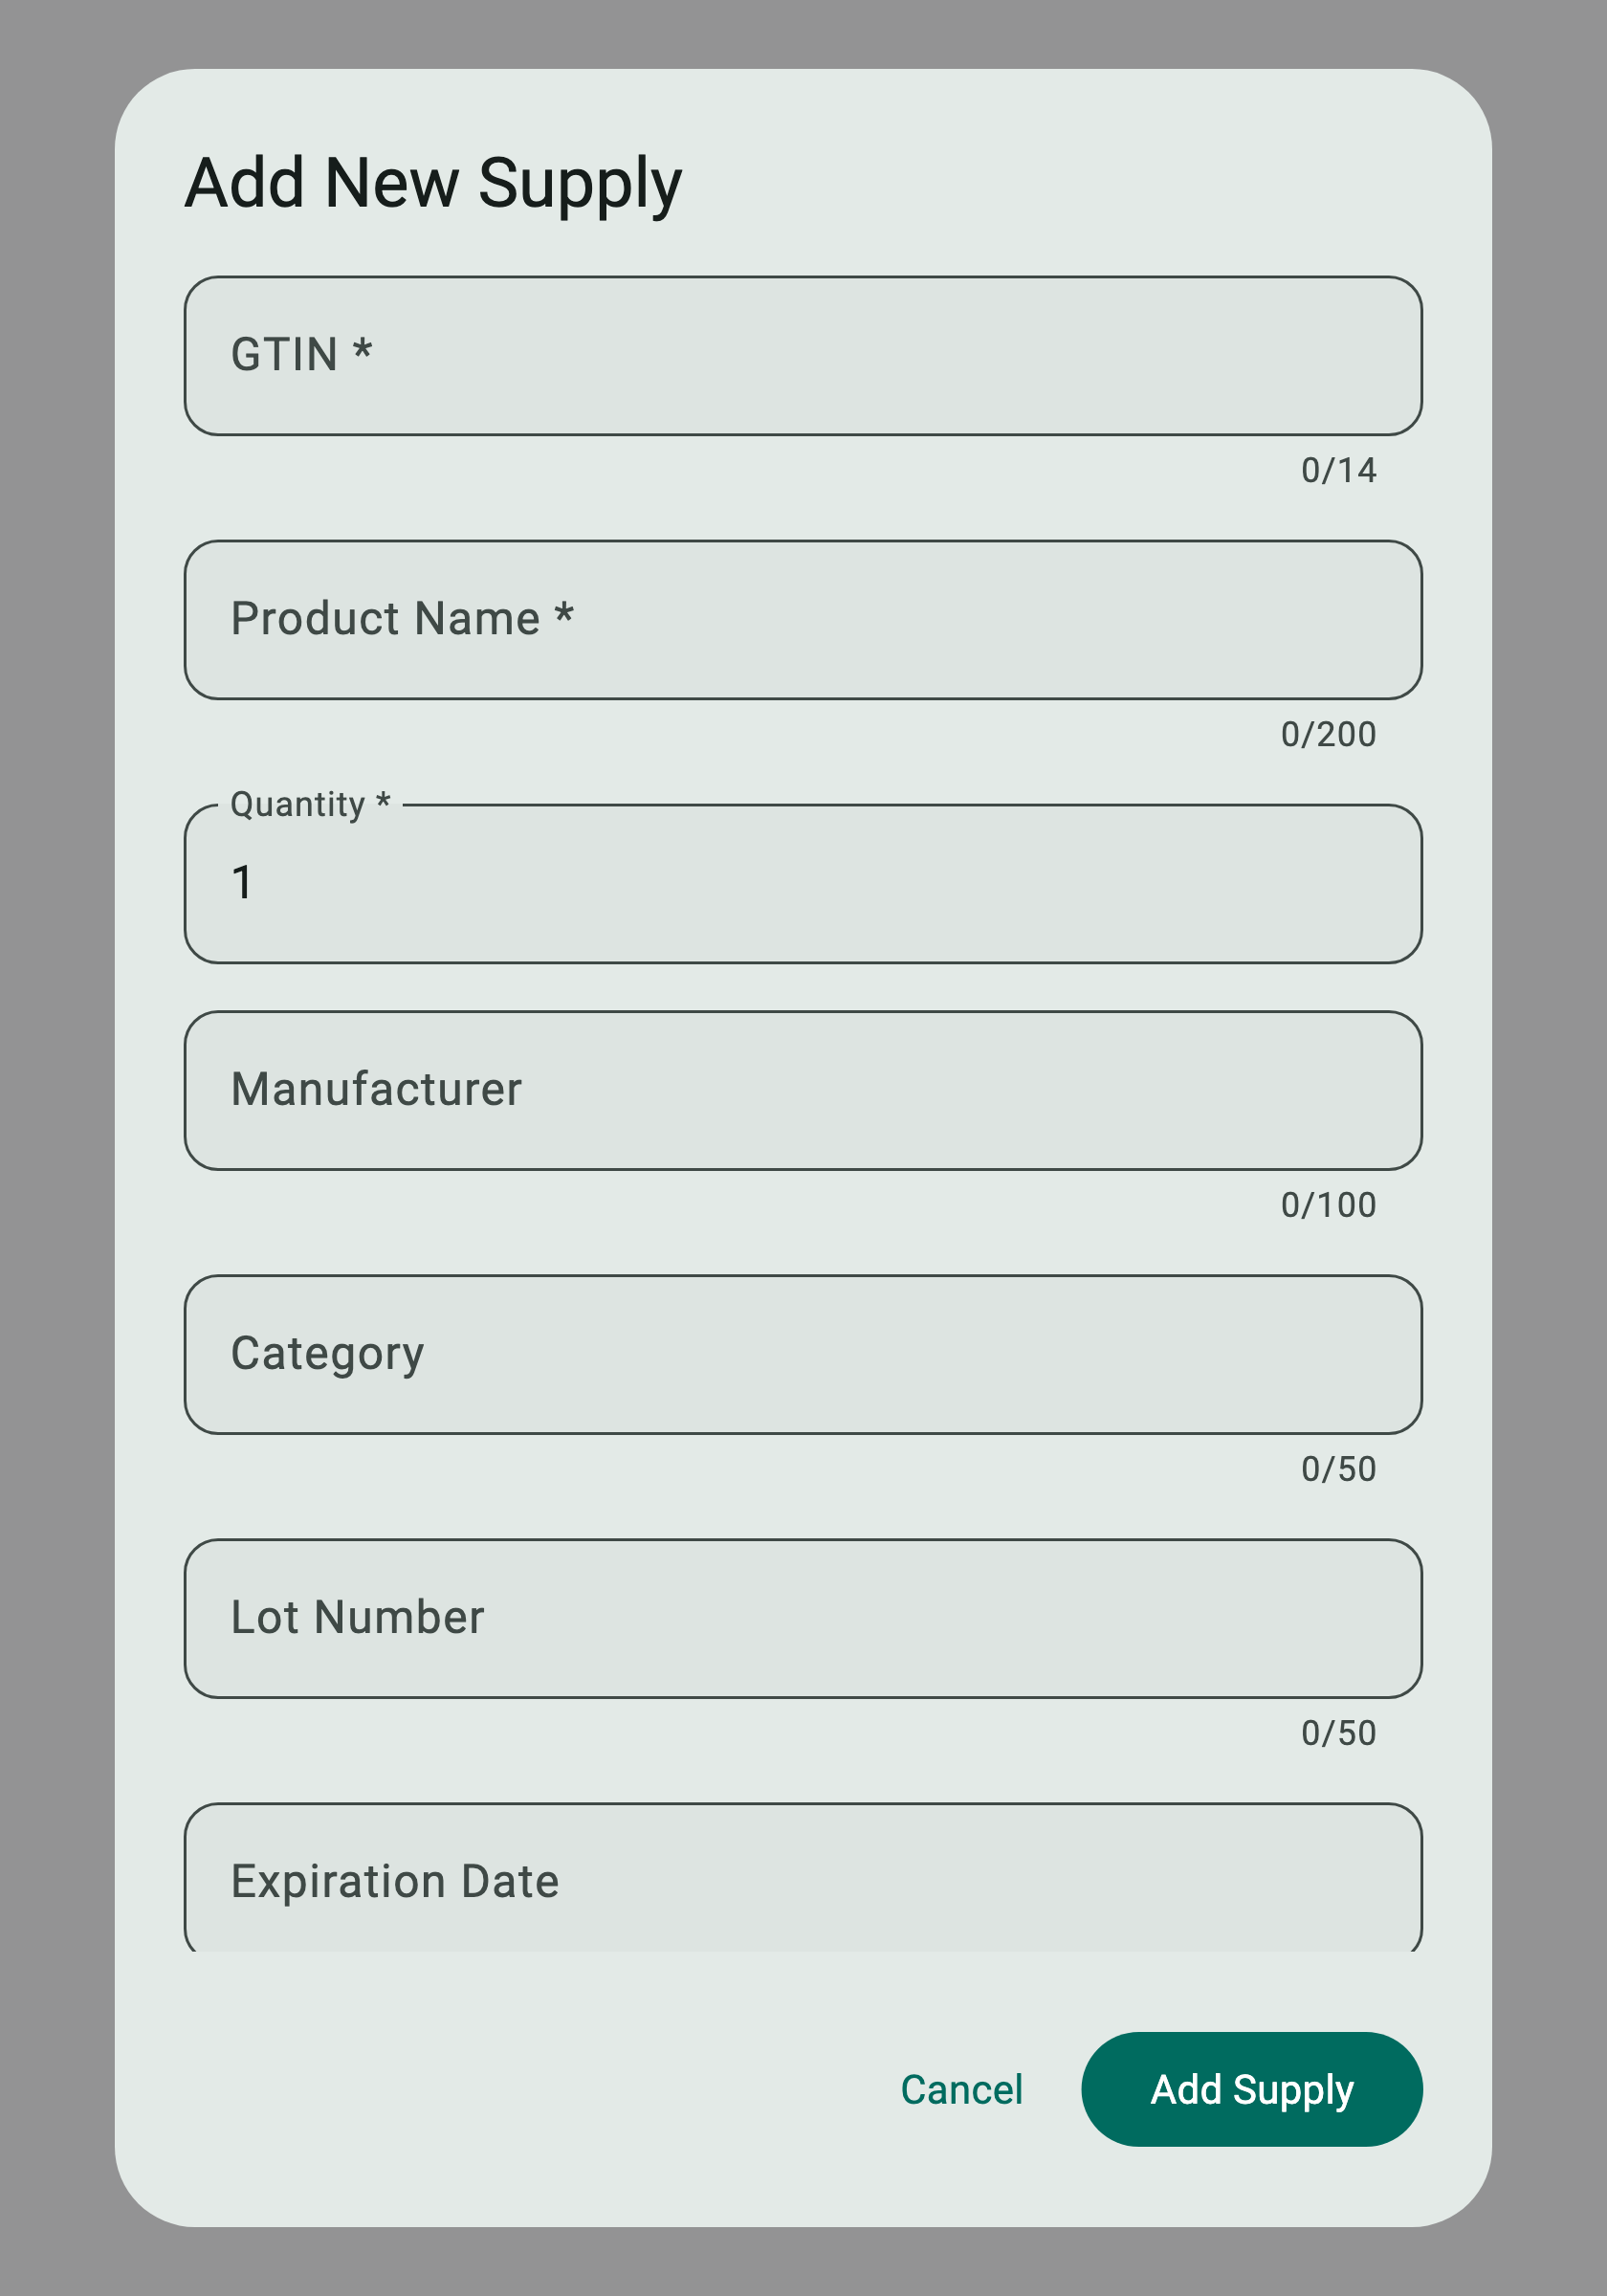
To add an item by hand, open the Inventory tab and tap the + FAB. The Add New Supply dialog appears.
-
Enter the GTIN (1) — the 8, 12, 13, or 14-digit barcode from the manufacturer — followed by Product Name (2). Quantity defaults to 1; bump it if you're stocking a case. Manufacturer, category, lot number, and expiration date are optional but enable smart filtering and FEFO dispensing once they're set.
-
Tap Add Supply (3). The item appears in your inventory list immediately and starts contributing to expiration and low-stock alerts.

See also: Adding a supply for the full workflow including barcode scanning and bulk import.